After we installed the fence at our house the damn fence company left piles of dirt where they dug the post holes and killed the grass. Asheville isn’t the Pacific Northwest, but it rains here frequently, and after a few days of rain, the dirt piles turned to mud slick. The main entrance into the yard from our house is out of the basement, down the back deck stairs, and around a tight section of yard. This tight section was the main problem: a former patch of green, lush grass now turned mud slick. Piles of dirt turned to piles of mud = eternal battle with dogs and muddy paws. This is also the north boundary of the property and doesn’t receive sunlight because of the house. Growing grass was impractical – the dogs would be restricted from their access to to the yard and they would tear it up as soon as it was green anyway. A mulch trail would require too much yearly maintenance and doesn’t really solve the dirty paws issue.
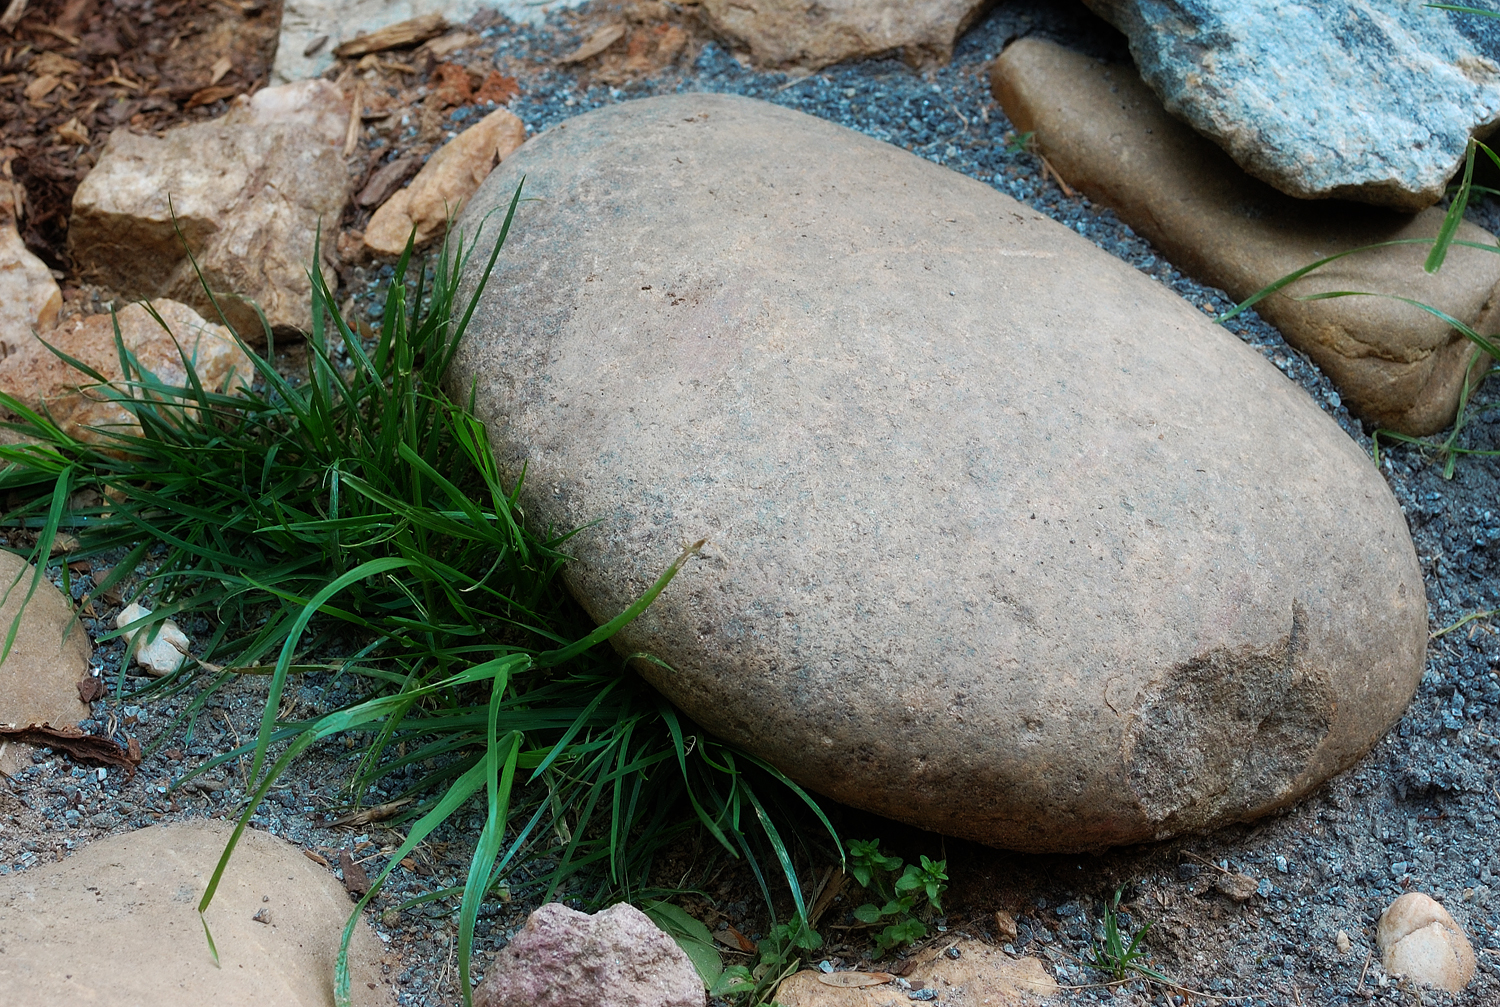
I first envisioned a stone walkway with sunken river rocks. I consulted with my father in-law and the idea quickly morphed into a stone staircase, with river rock used intermittently, along with an adjacent rock garden. The flagstone and riverock would hopefully serve as great mud mats so the dogs could enter the house without having to bring out a bucket or the hose.
WARNING: Building walls, paths, stairs, etc. out of stone is addictive. You will find yourself obsessing over the right rock shape and thinking of ways to expand and raise or lower or adjust your installation. You will be repeating trips to and from the local stone dealer to the point of suspicion – “what is this guy doing with all that rock?”
Materials Needed:
- River rock – 1′ to 1.5′ in width
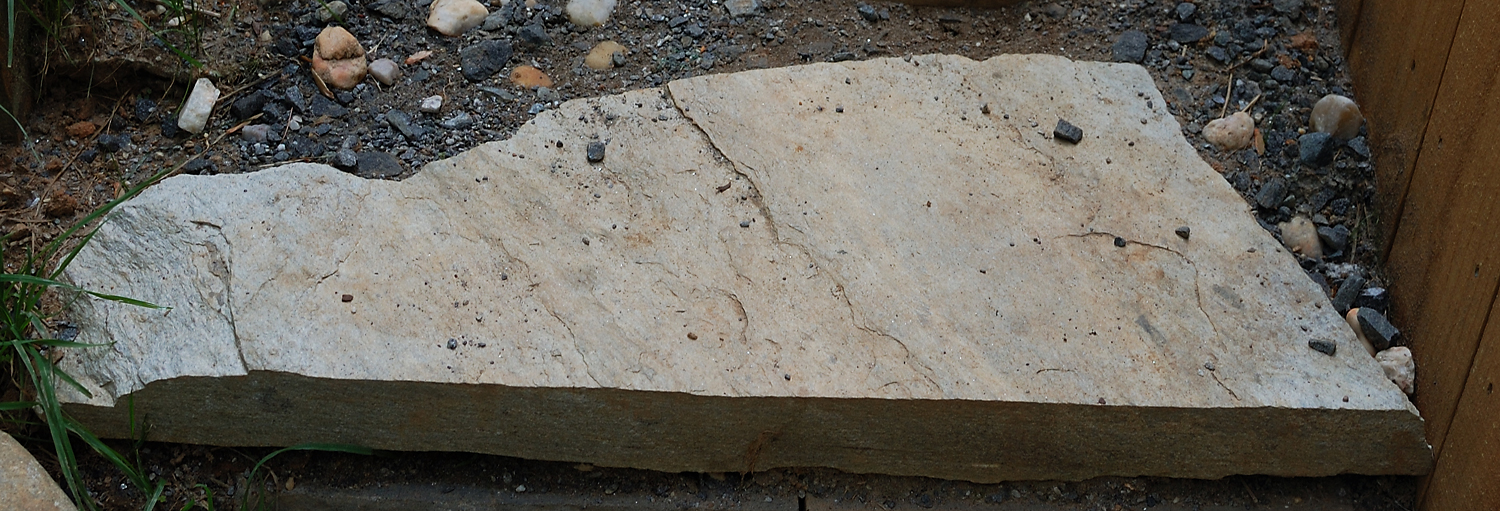
- Flagstone (chocolate grey slabs for our stairs – 2′ x 3′ in approximate size)
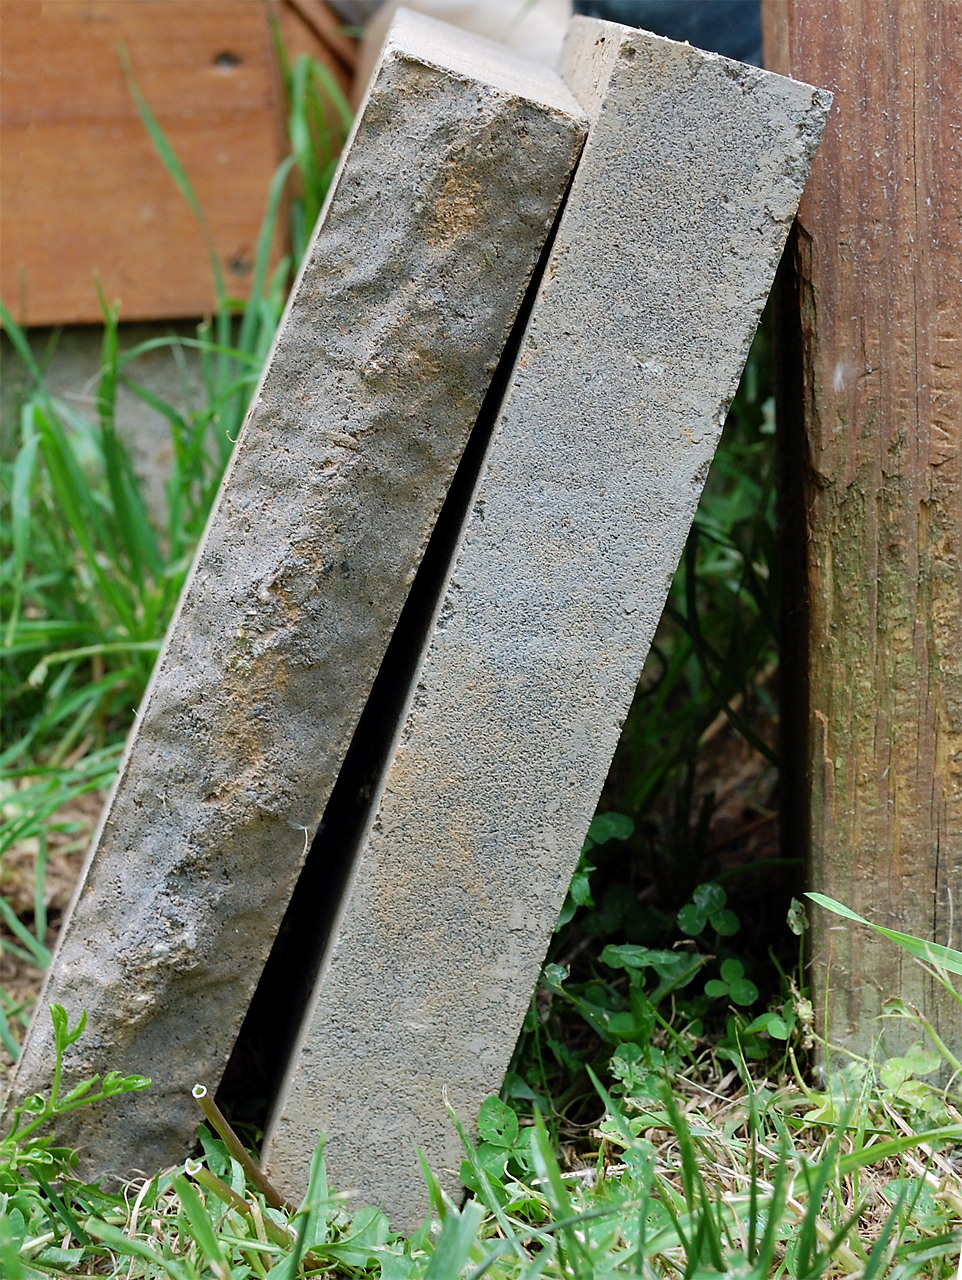
- Prefab concrete risers
- River pebbles (for filler and adjacent rock garden)
- 4″ x 4″ Pressure treated posts (rock garden)
- Stain (for above wood for rock garden)
- Stone dust
- Weedblocker

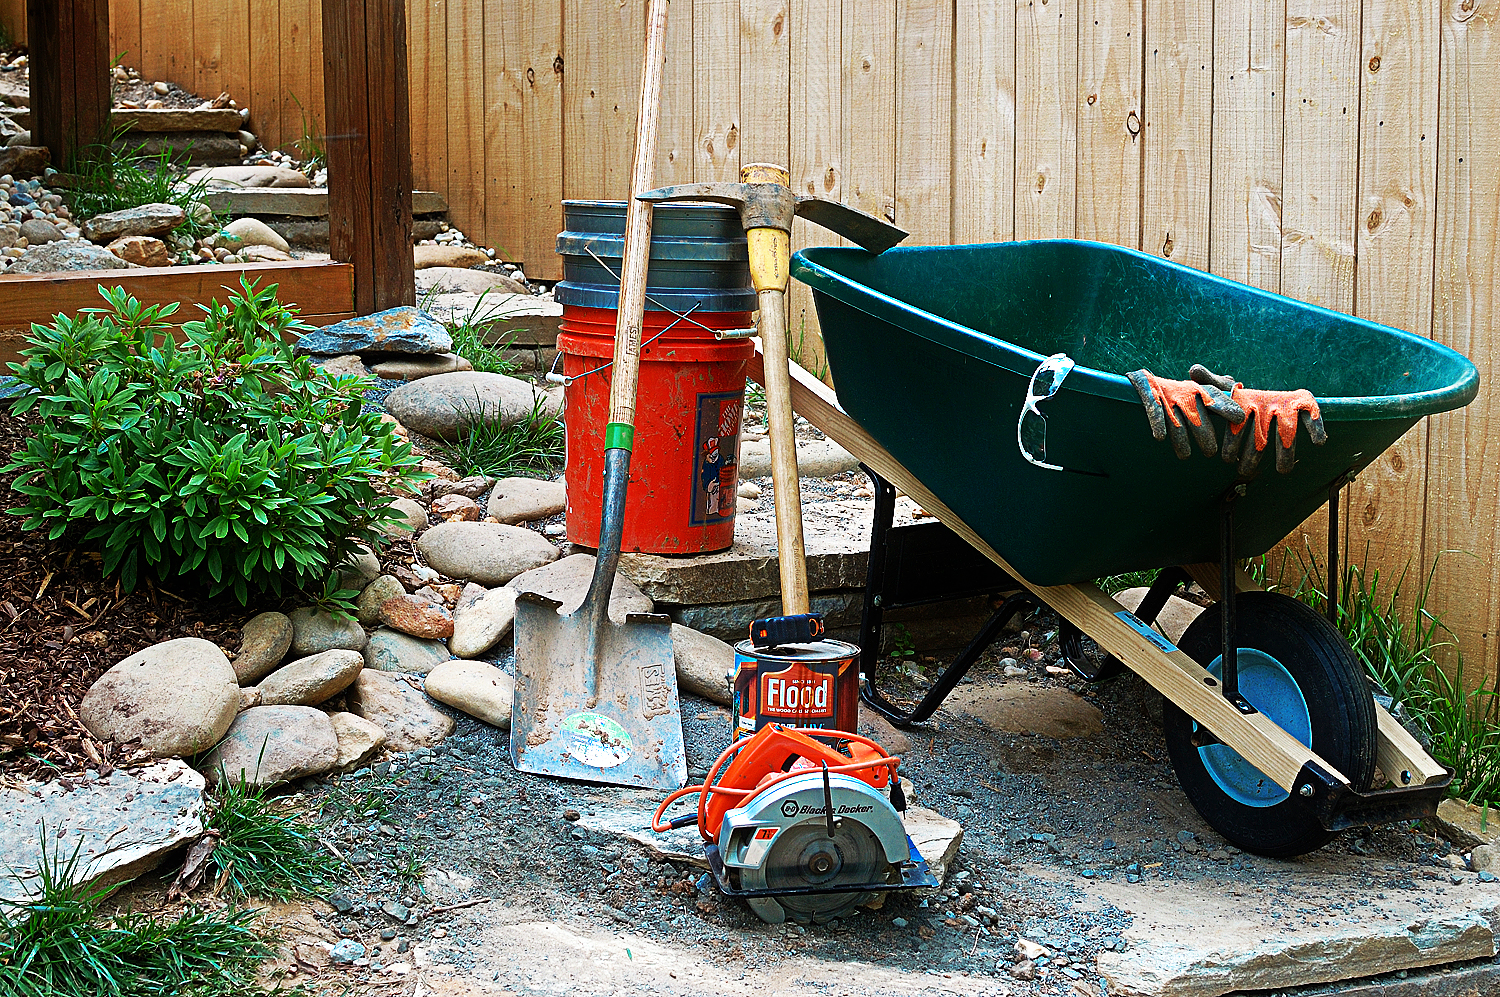
Tools Needed:
- Strong back
- Wheelbarrow
- Flat-edged shovel
- Pickaxe (5 lbs used on this project)
- 5 Gallon buckets
- Gloves
- Protective eye-wear
- Circular saw
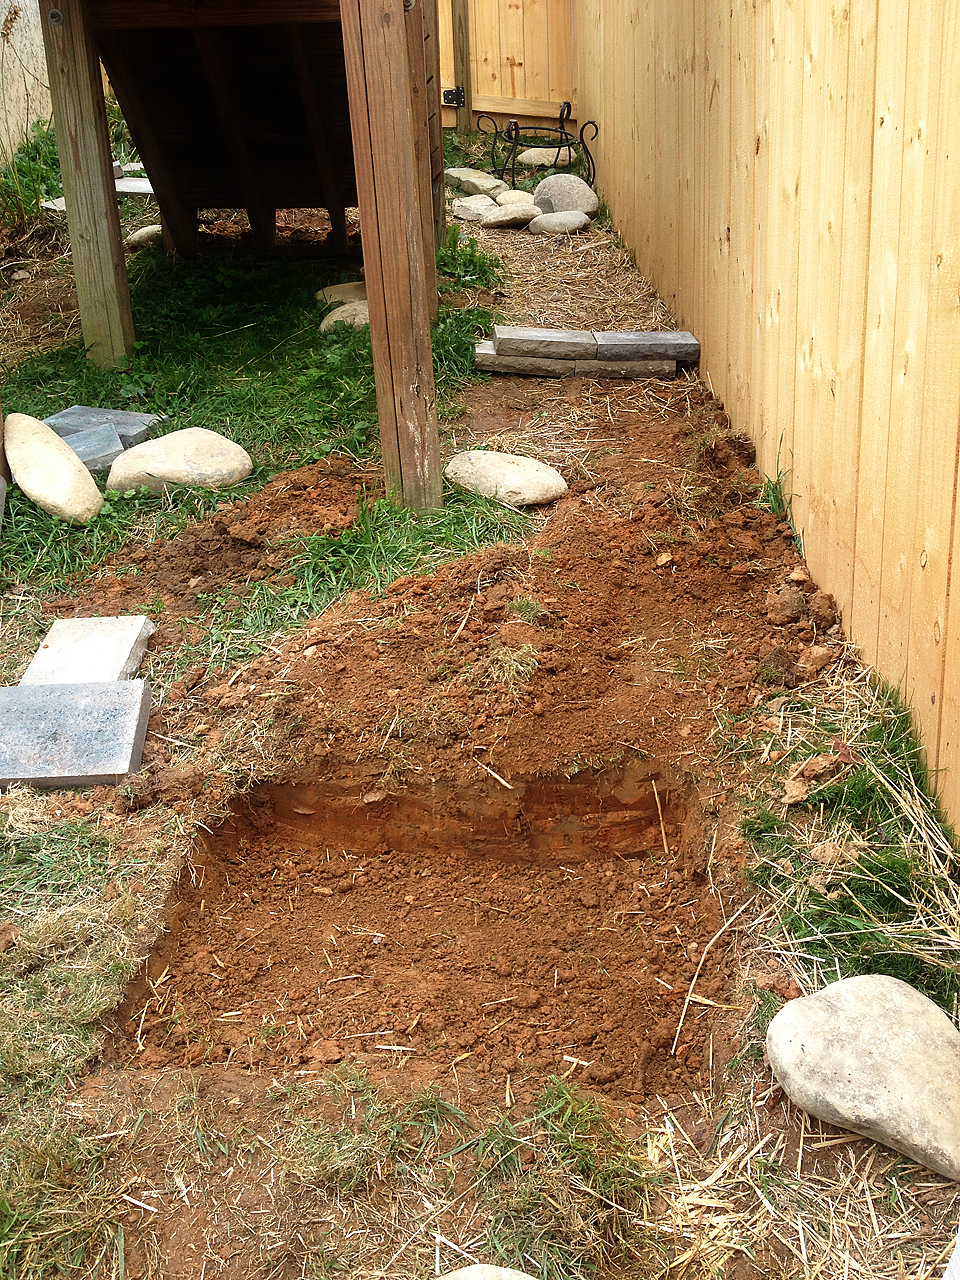
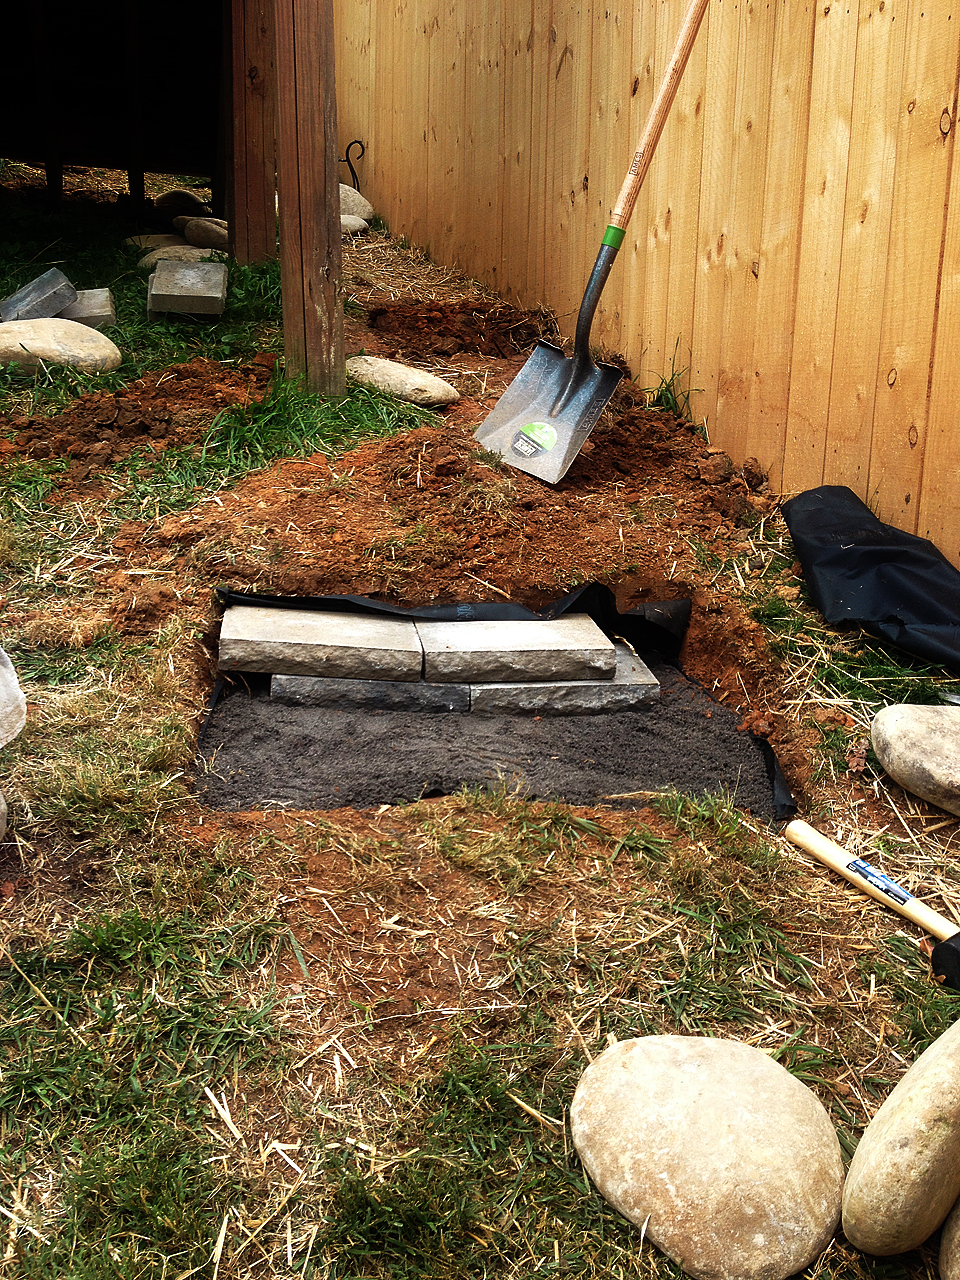
Using the pickaxe, mark the line of your stair back edge. Use the flat edge of the pickaxe to slice a wedge of dirt out, where the front edge of the landing below the step serves as the lowest point to dig out your wedge (terracing in a sense).
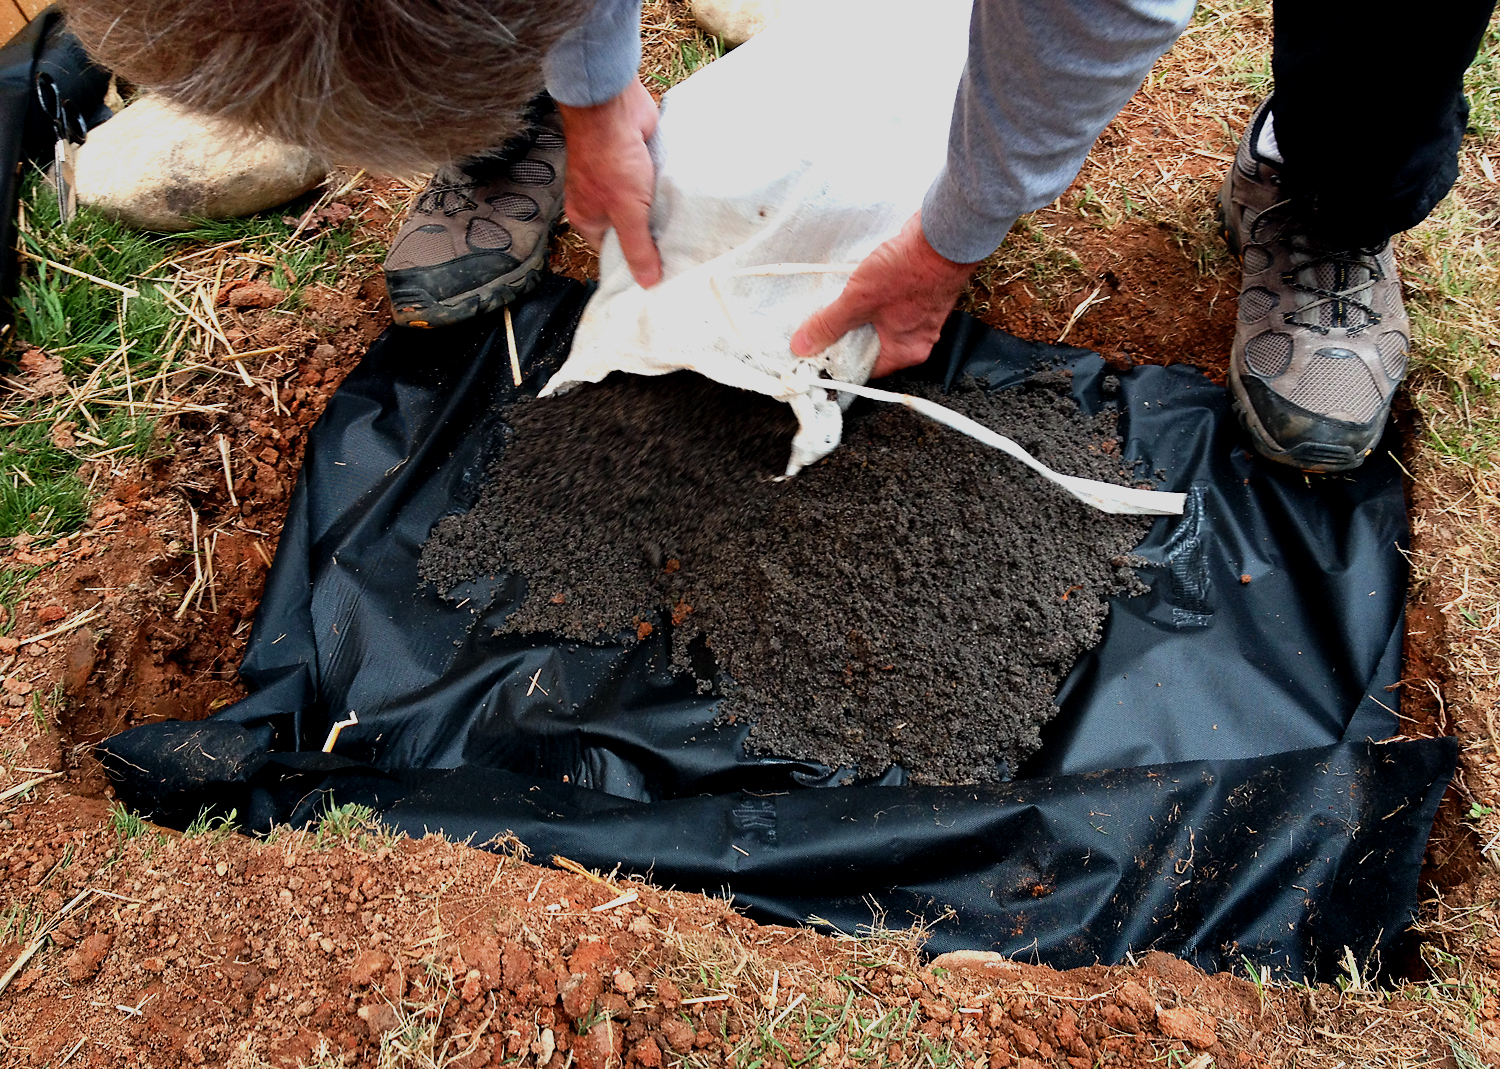
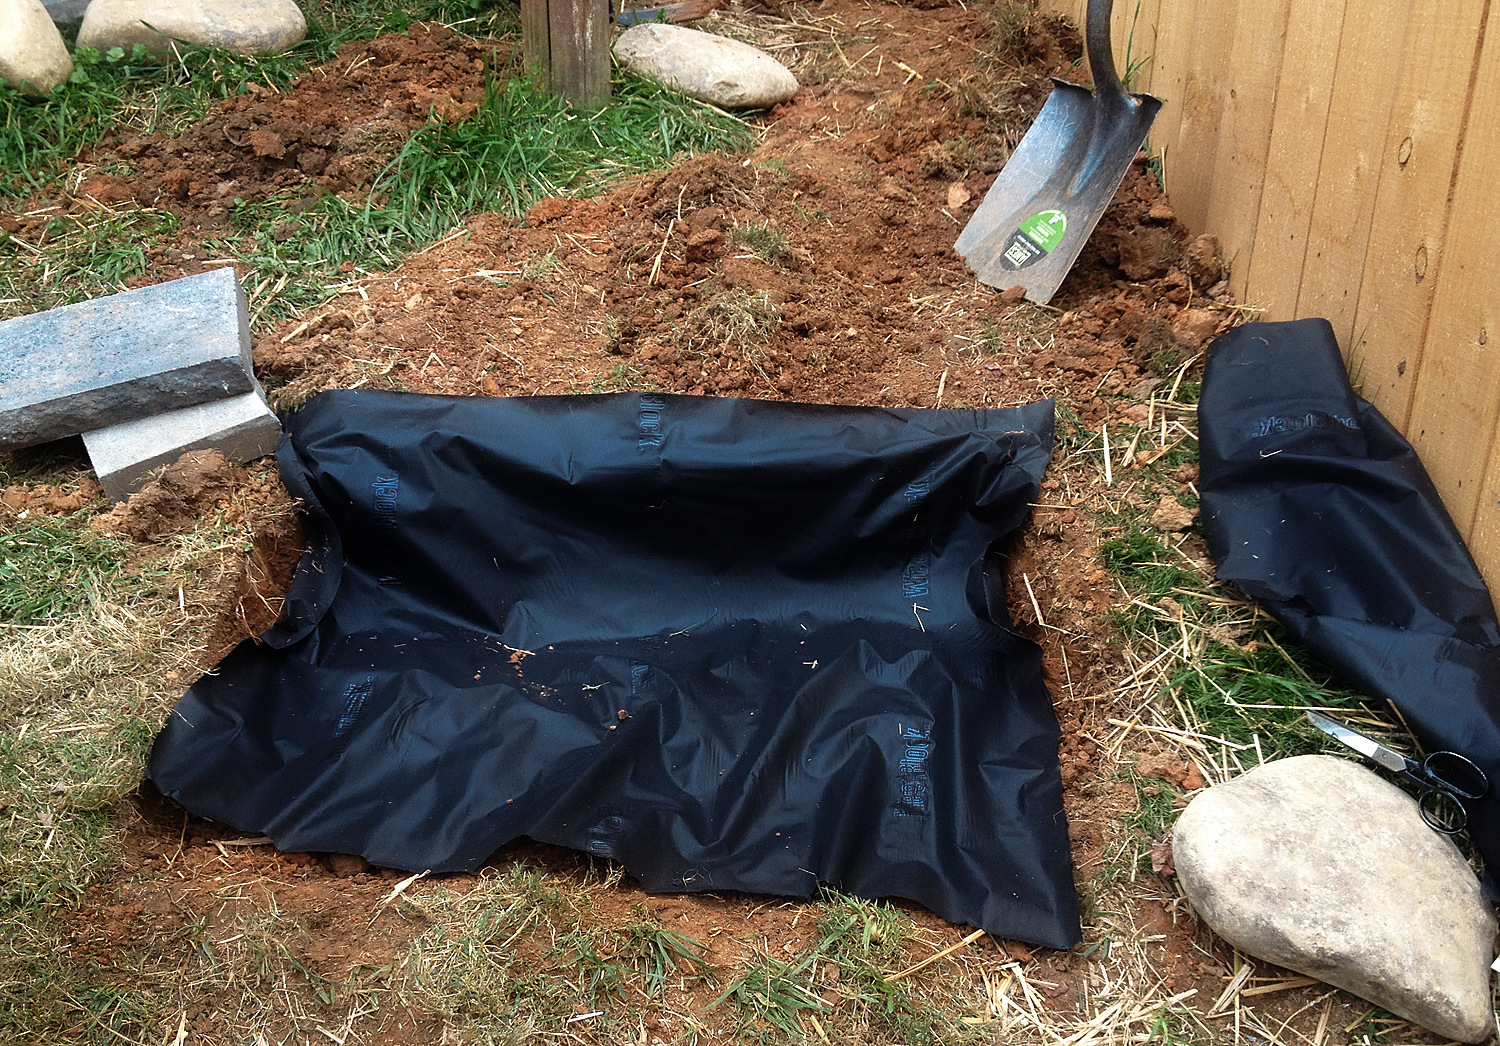
Check the width of your wedge according to the number of risers across. On the majority of these steps I used two risers across and two to three rows of risers stacked. Be sure to stagger the risers when stacking to create a stronger and easier-to-level foundation for your tread. Once the soil is removed and the wedge sized properly, I recommend covering the area with a weedblocker. We used the black rolls that you can buy at Home Depot, Lowes, or your local hardware store. Fill area with approximately 1/2″ of stone dust, leveling with your hands. Stack risers on top of stone dust, flush to back of wedge cut out. Level the risers by adding/removing/moving around the stone dust base. Once the risers are set and level, pour some stone dust to fill in any gaps around or behind. We also filled gaps with some of the smaller river rock and river rock pebbles (bought in bags from Home Depot).
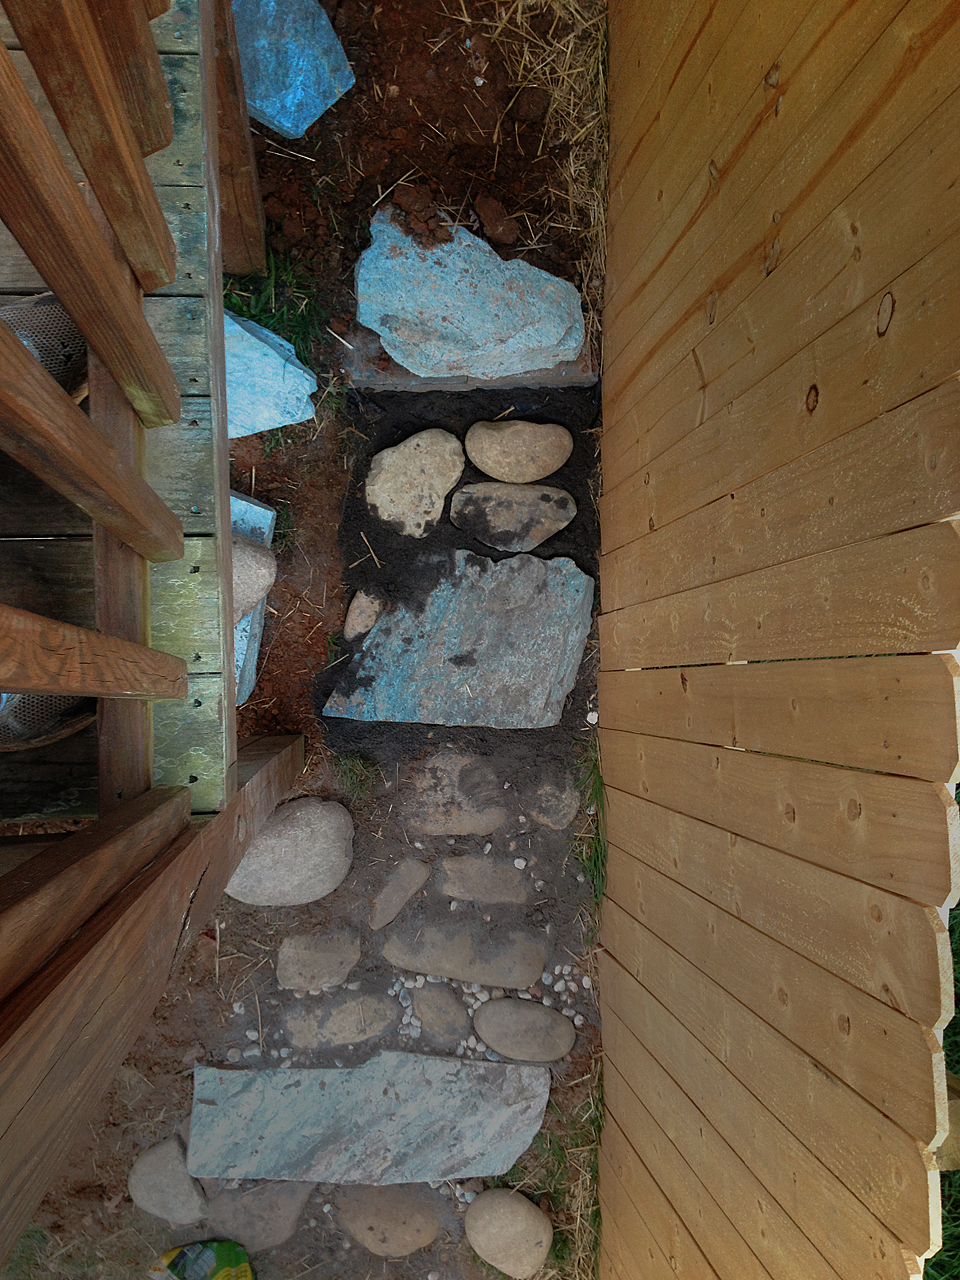
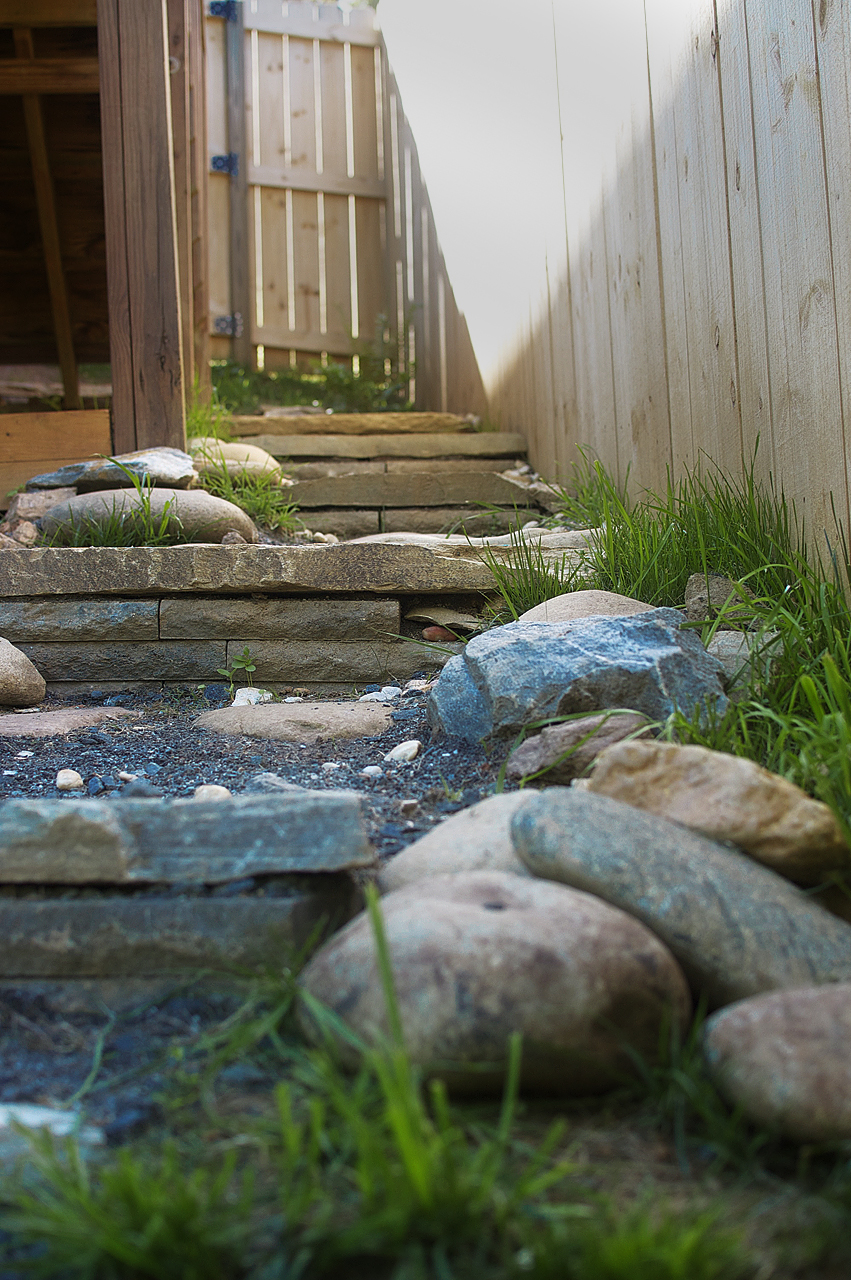
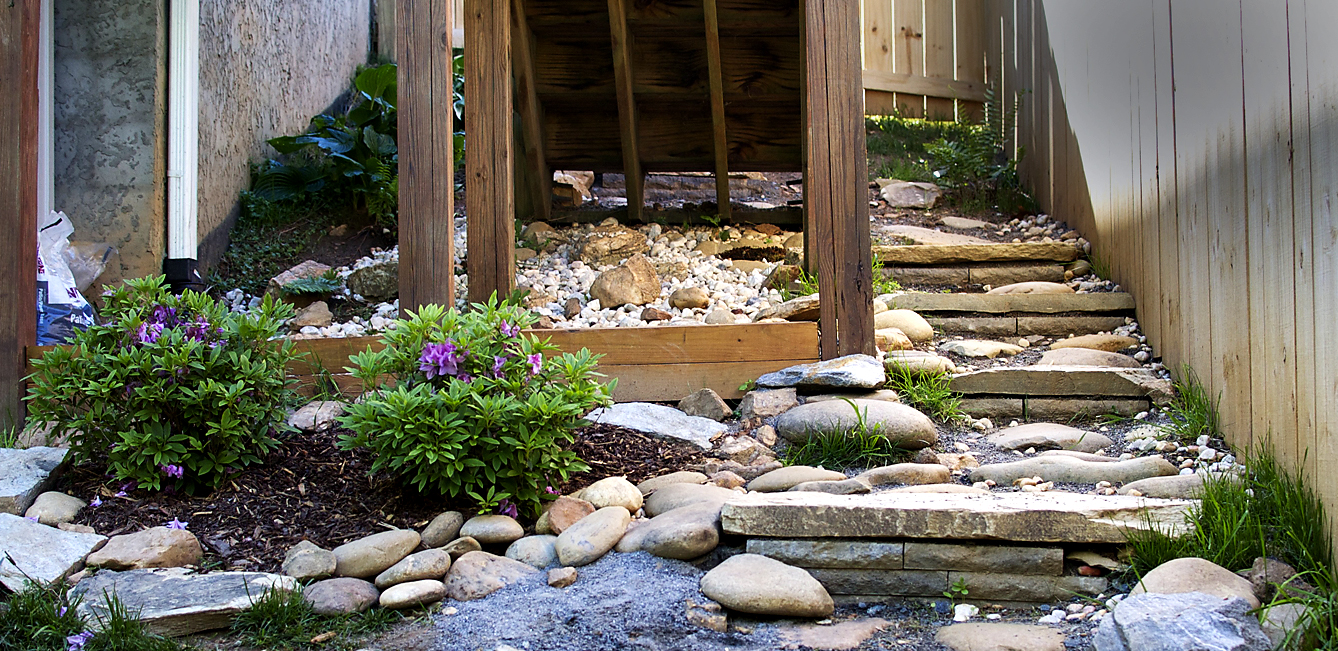
For the stair landing (below the tread and risers) and/or walkway between several of the stairs we dug out and sunk river rock to create a “Roman Road” effect.
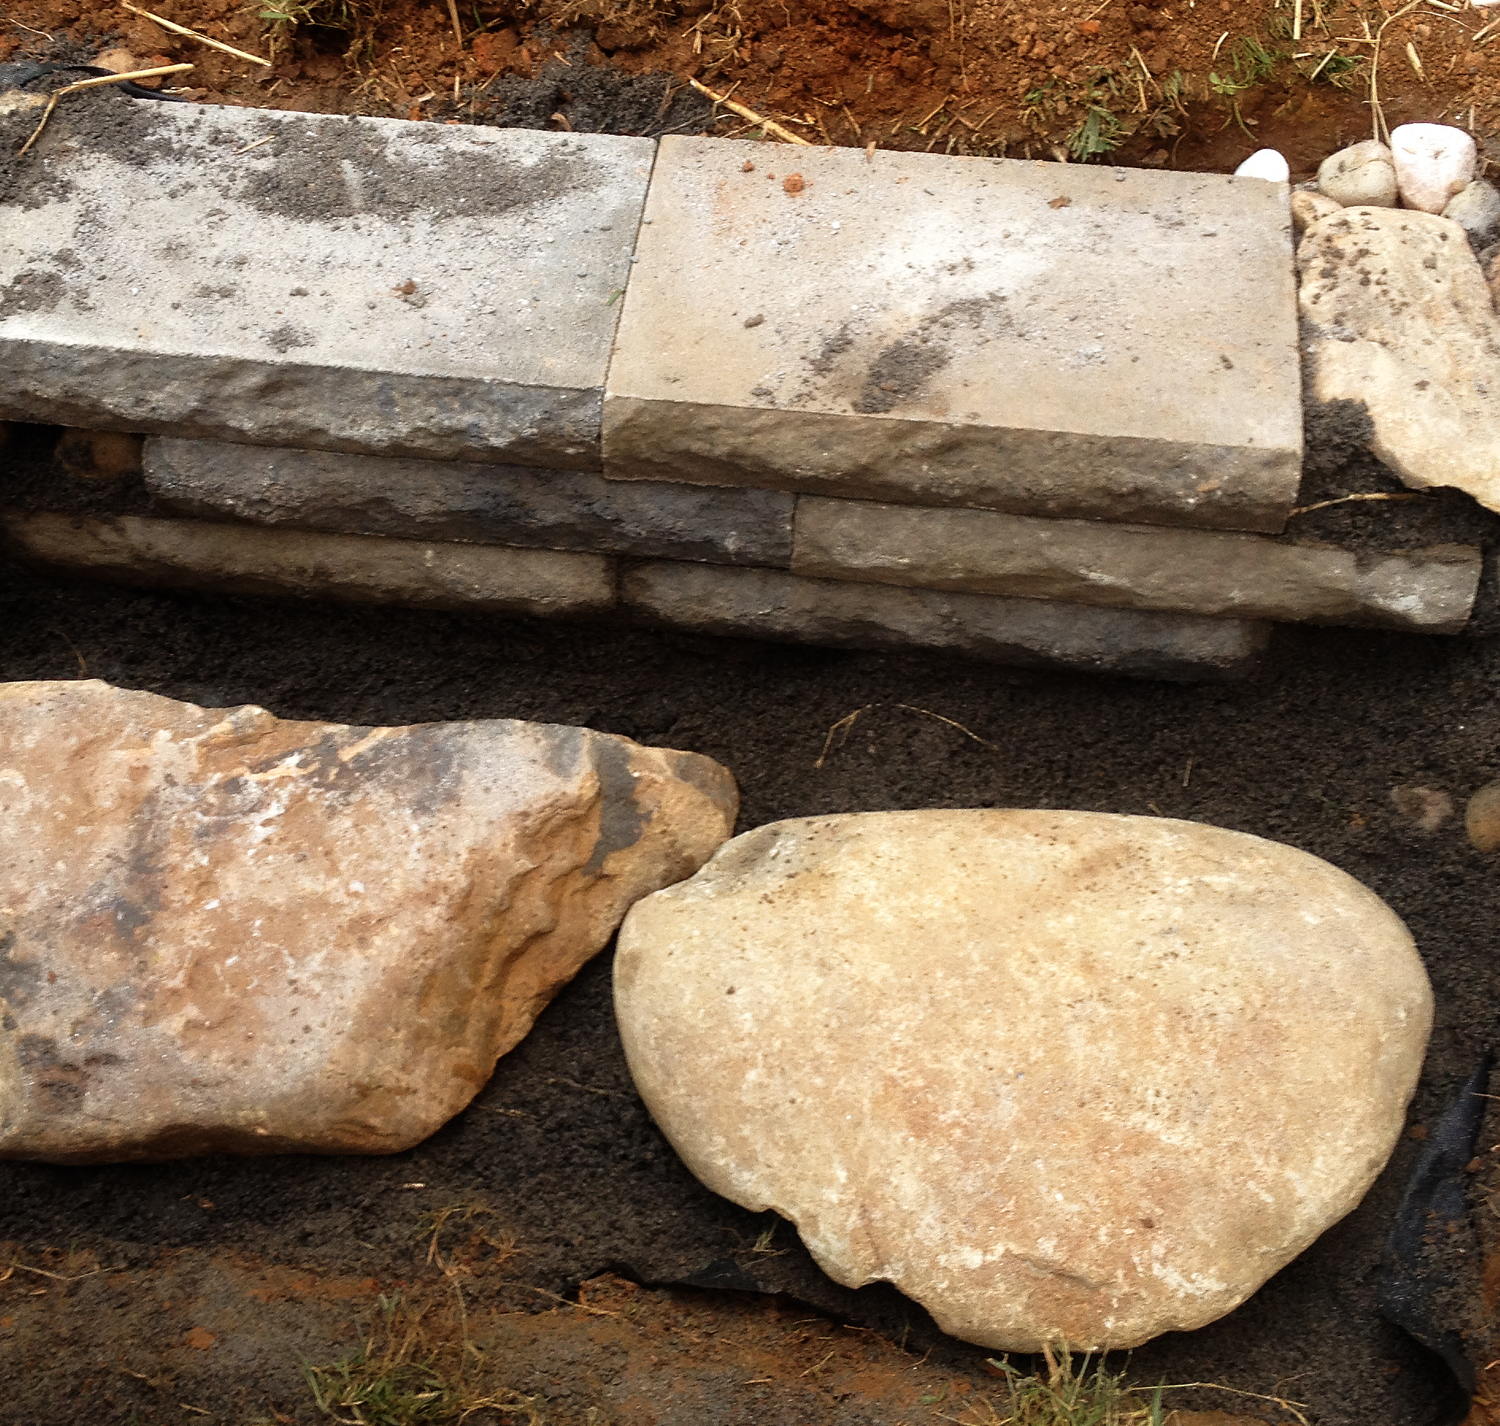

The final touch is the chocolate grey flagstone, placed on top of the risers. You may need to dig out some of the soil towards the back end of flagstone to create a flush and level tread for your stair. Add stone dust under the flagstone to adjust for any rocking. You will want/need to purchase the tread flagstone and river rock from a local rock / landscape retailer. The big box stores like Home Depot do not carry the stone used in this project, except for the concrete risers and pebbles. Here in Asheville I use Hipps Stone. They have bins of river rock to hand pick and fine stone dust to fill in buckets, bags, or the back of a truck.
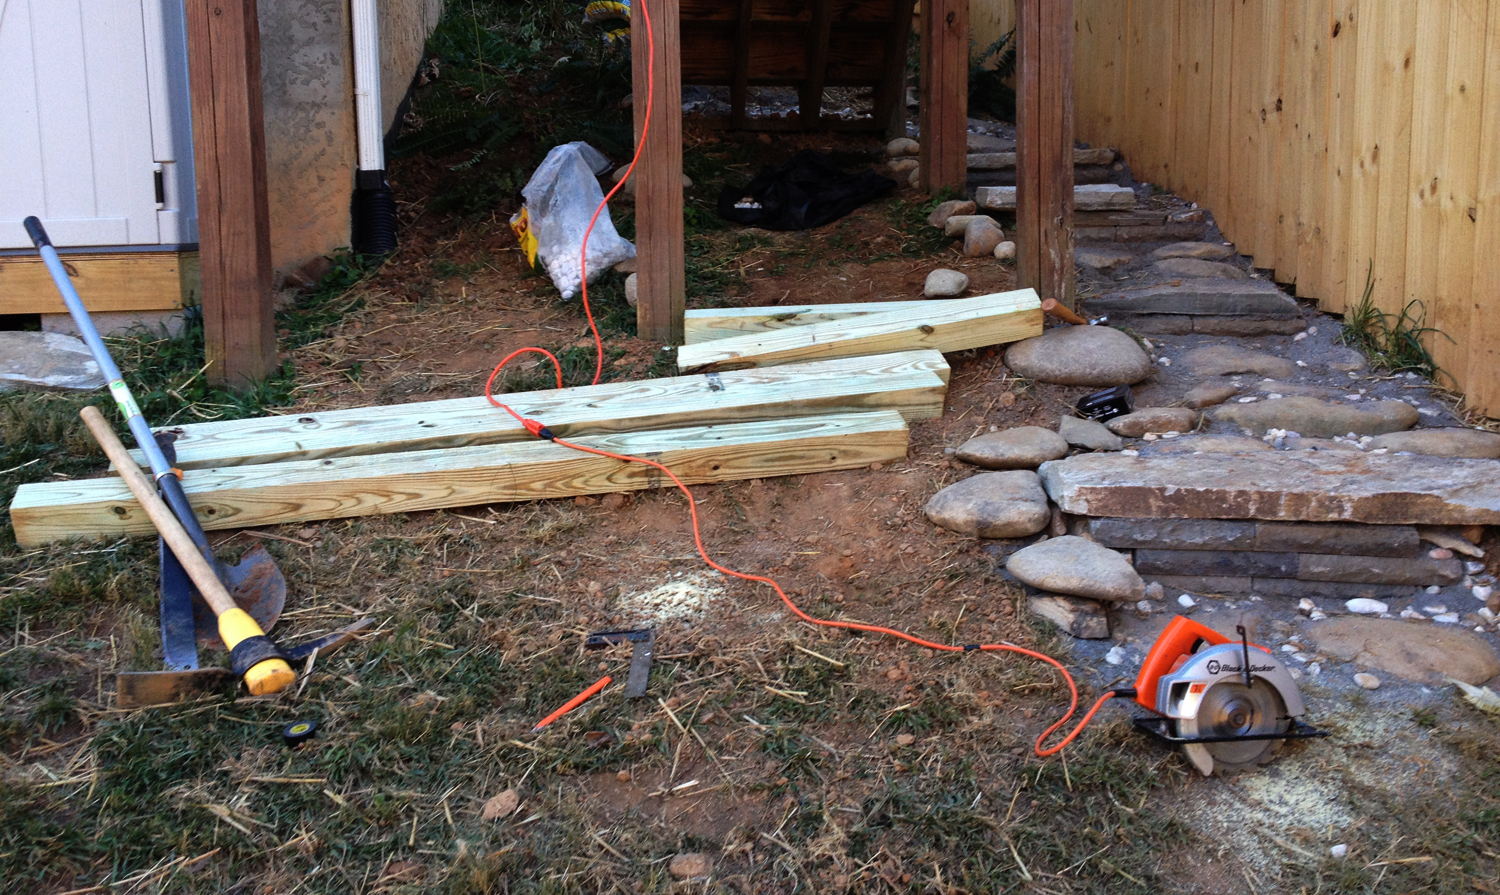
Once you start digging, more dirt piles up around the work site. We started throwing the dirt under the stairs before we got smart and put it on a tarp or in the wheelbarrow to haul elsewhere on the property. I could see the mud-thirsty looks in my dogs eyes as they looked at the new dirt, looked at me, and then looked at each other saying, “we’re gonna track some mother f’n mud into this house – first sight of some rain!”
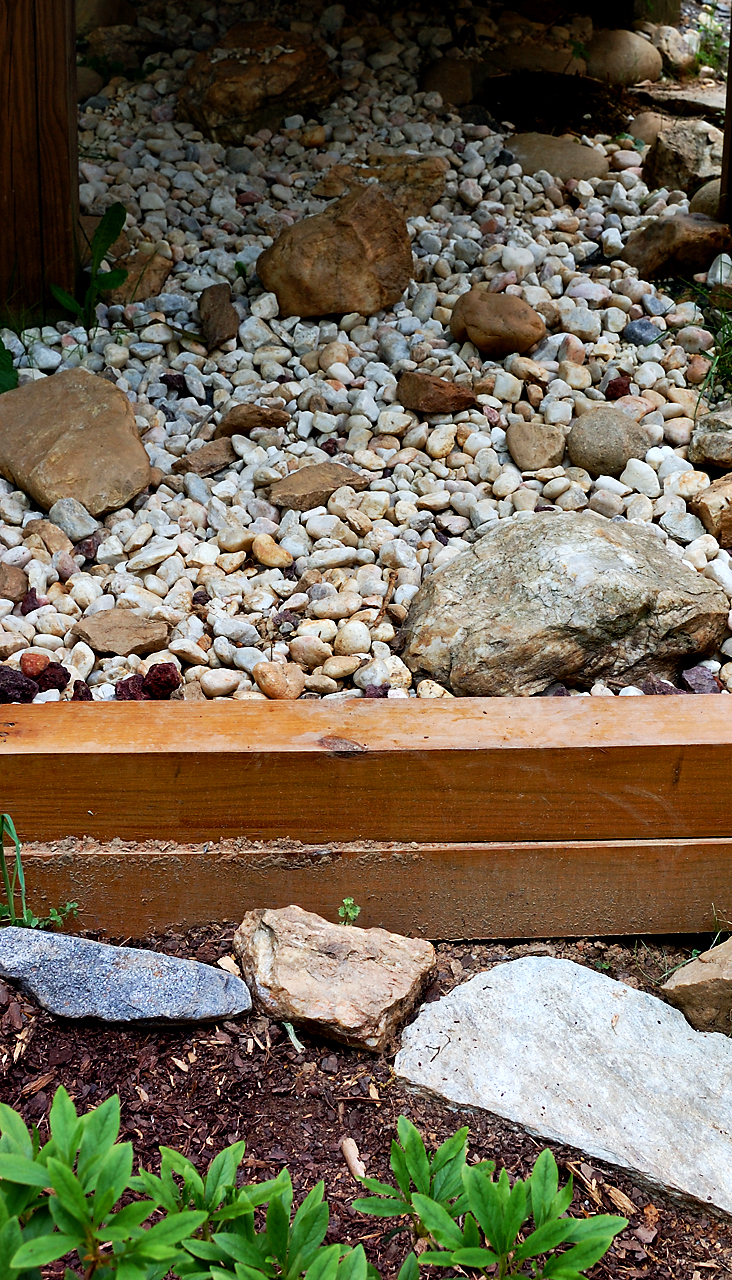
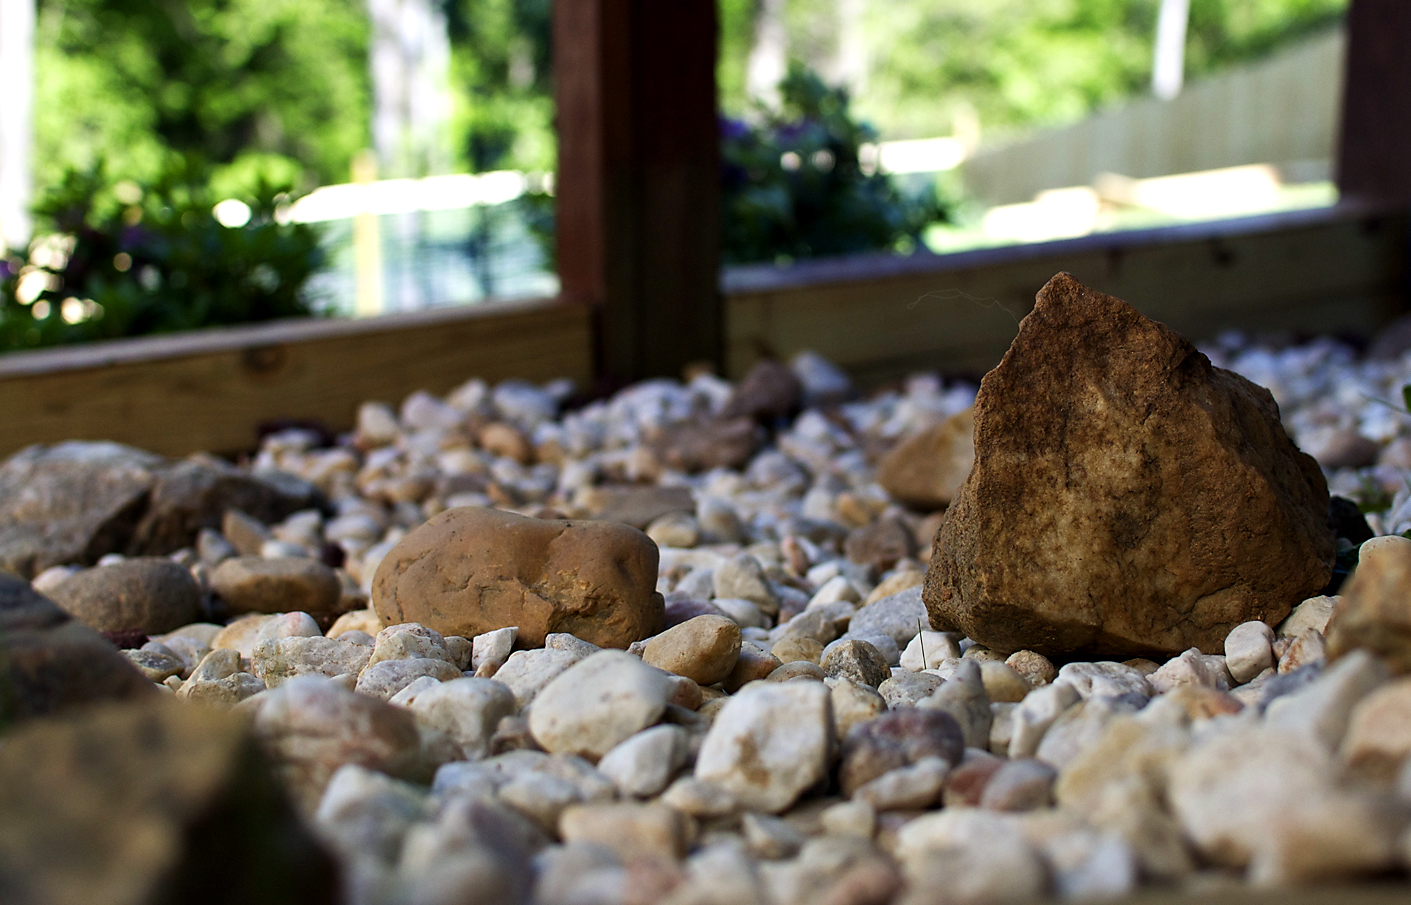
Well, I put my slightly-larger-than-my-dogs’ brain to use and came up with an idea for a rock garden. The pre-existing posts for the staircase made for a perfect place to add some wood as a rock dam and create a rock garden adjacent to the steps (and right on top of the soon-to-be mud slick). I used pressure-treated 4″ x 4″ posts, measured, and then cut them with a circular saw before hammering into the deck posts. I also added a couple coats of the stain that the previous owners had used on the deck. I interspersed larger rocks from the property (or purchased) and dumped several bags of the river rock pebbles on top of the same weedblocker. The finishing product creates a water-less stream bed look.

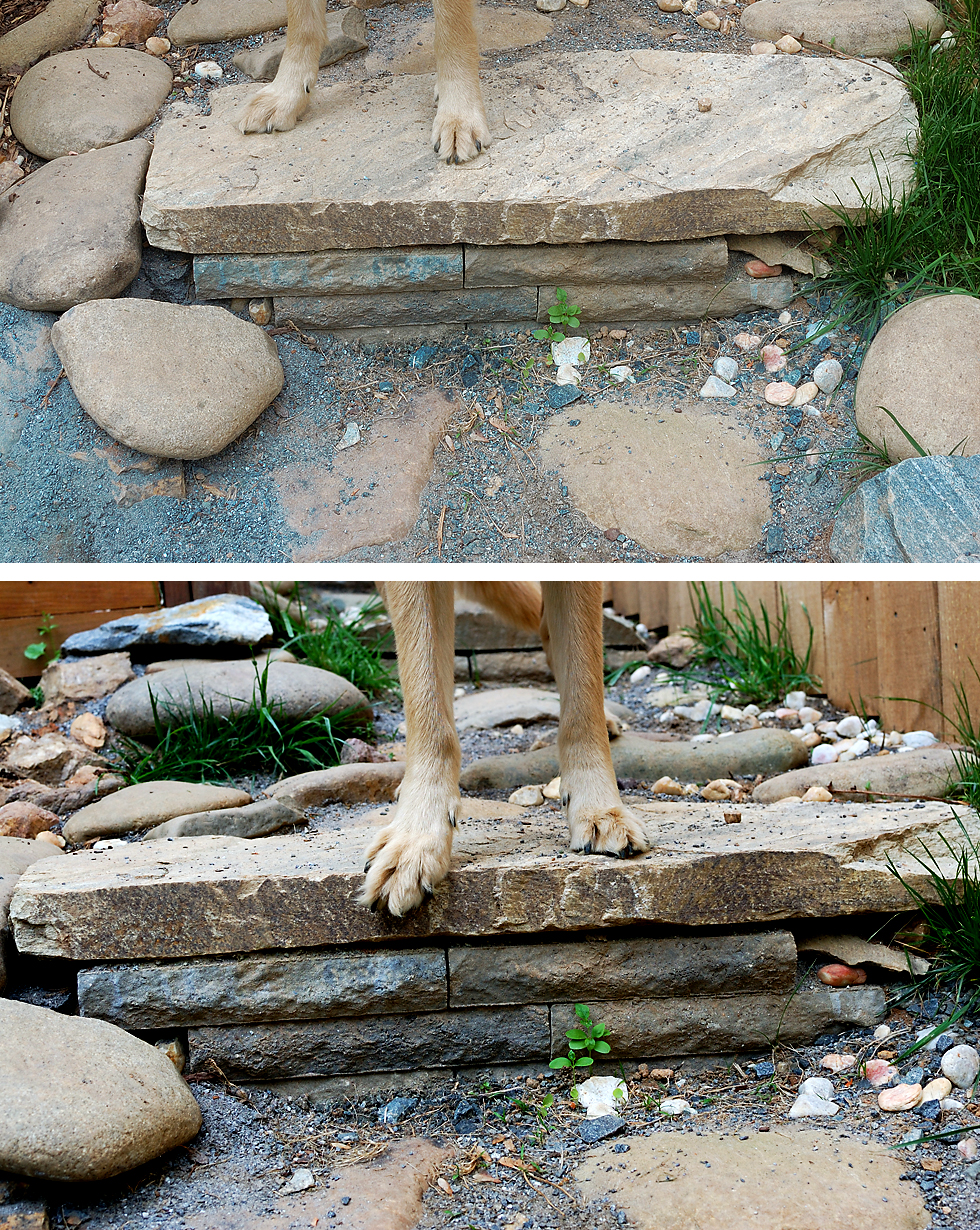
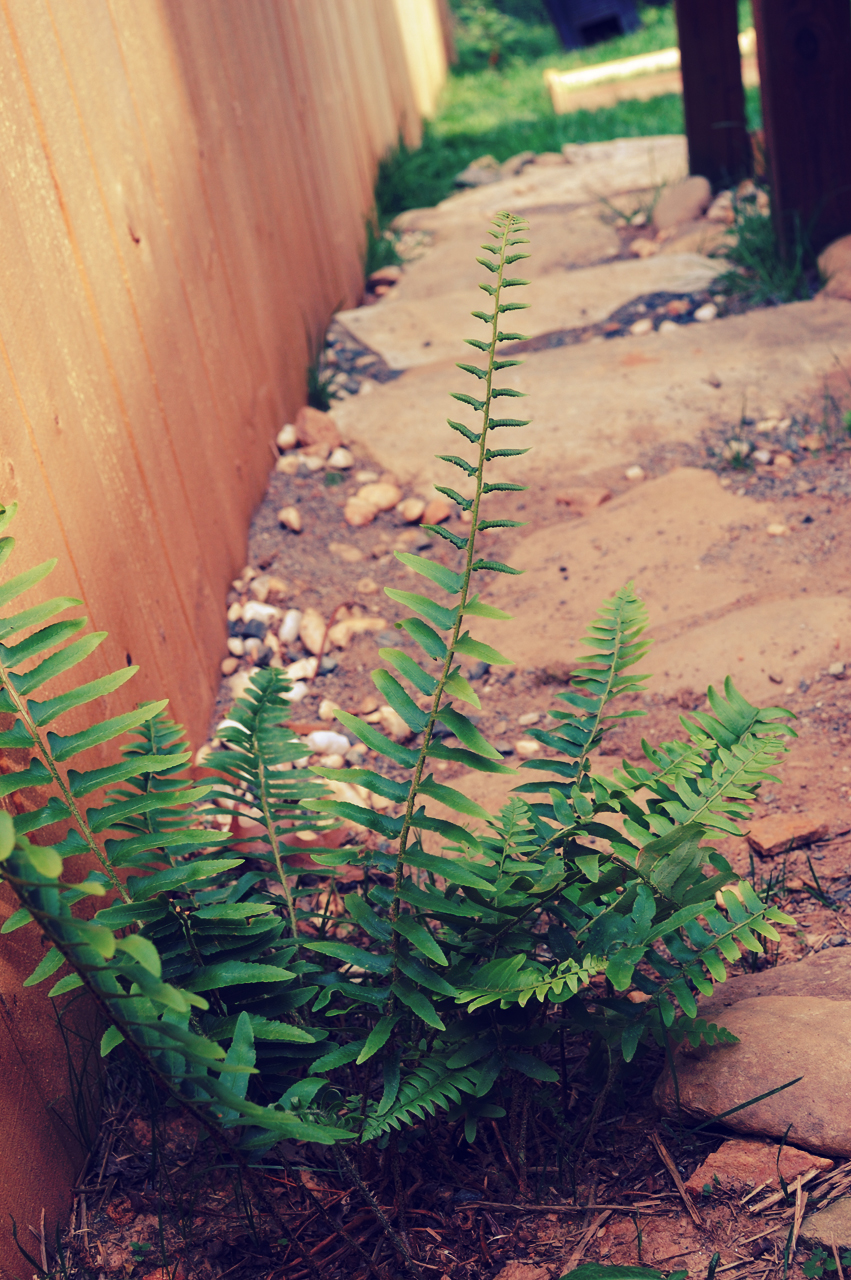
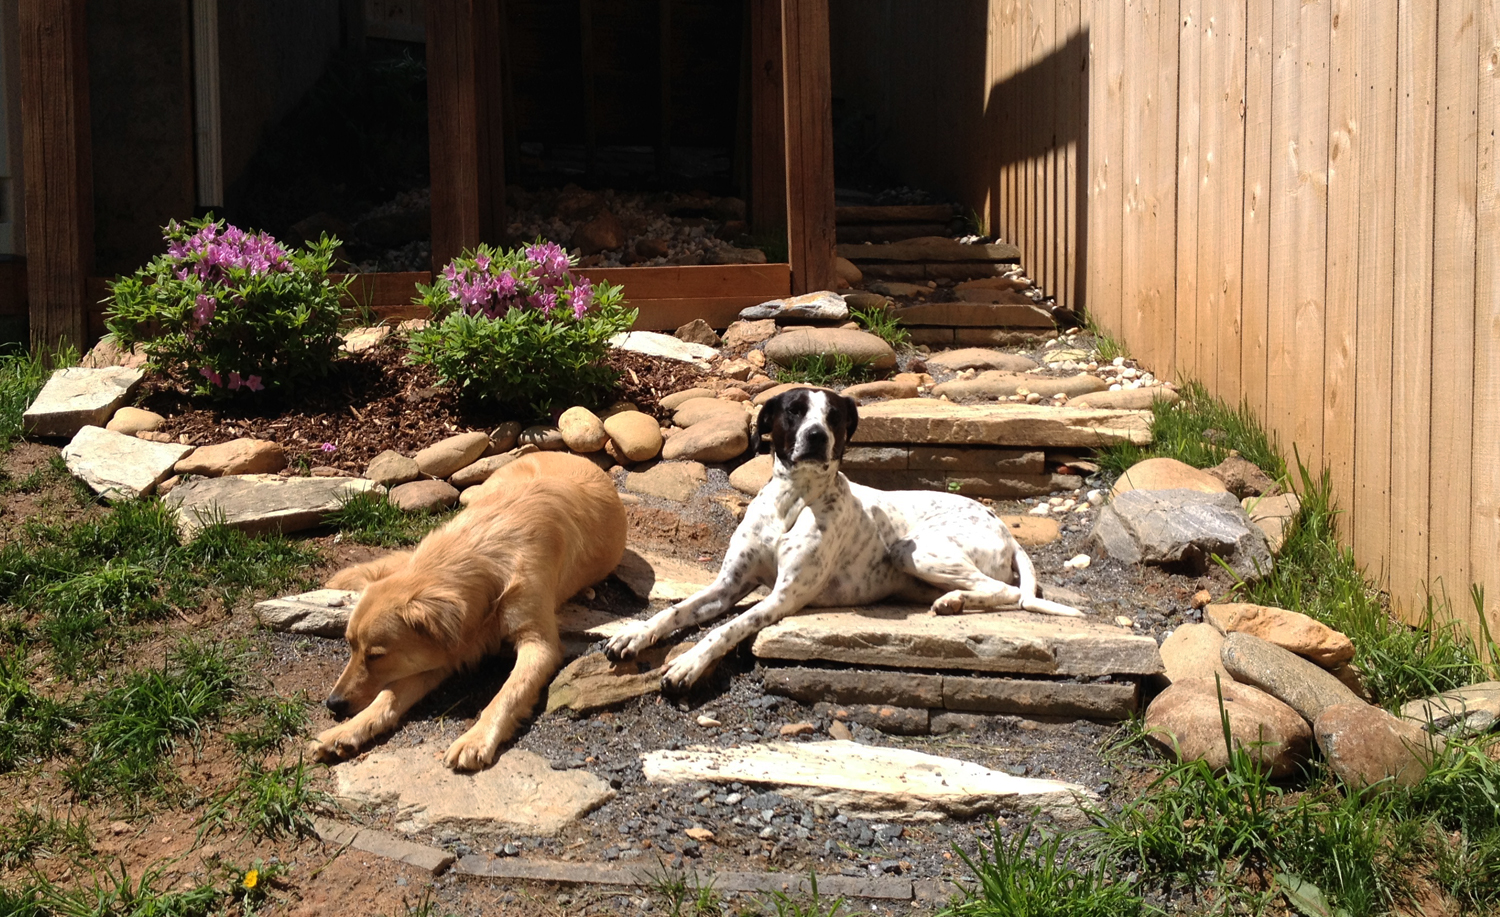
It’s hard to say that this is a finished project, as working with stone creates the desire to come up with projects to work with more stone. However, the current status (about 3 solid days of work) is a beautiful stone staircase and walkway, with adjoining rock garden. The end result requires little maintenance, eliminates the need for mowing, eliminated the mud, and successfully serves as a great paw cleaner for my two dogs and all those visiting paws that come through the house on rainy days. Some unexpected benefits include a sense of pride and joy every time I walk out down the stairs into my backyard and it is also a great place to sit and contemplate the wonders of the universe or for the dogs to grab some vitamin D straight from the sun.
Leave a Reply